Zbrush 3d printing reddit
The result is different when a final render is done. As a result, displacement mapping grayscale images, with the intensity of a pixel indicating height of displaced geometry, something which.
winzip installation file free download
| How to turn displacement map into mesh zbrush | 151 |
| Download teamviewer 13 gratis windows 7 | 324 |
| Grammarly free alternatives | 41 |
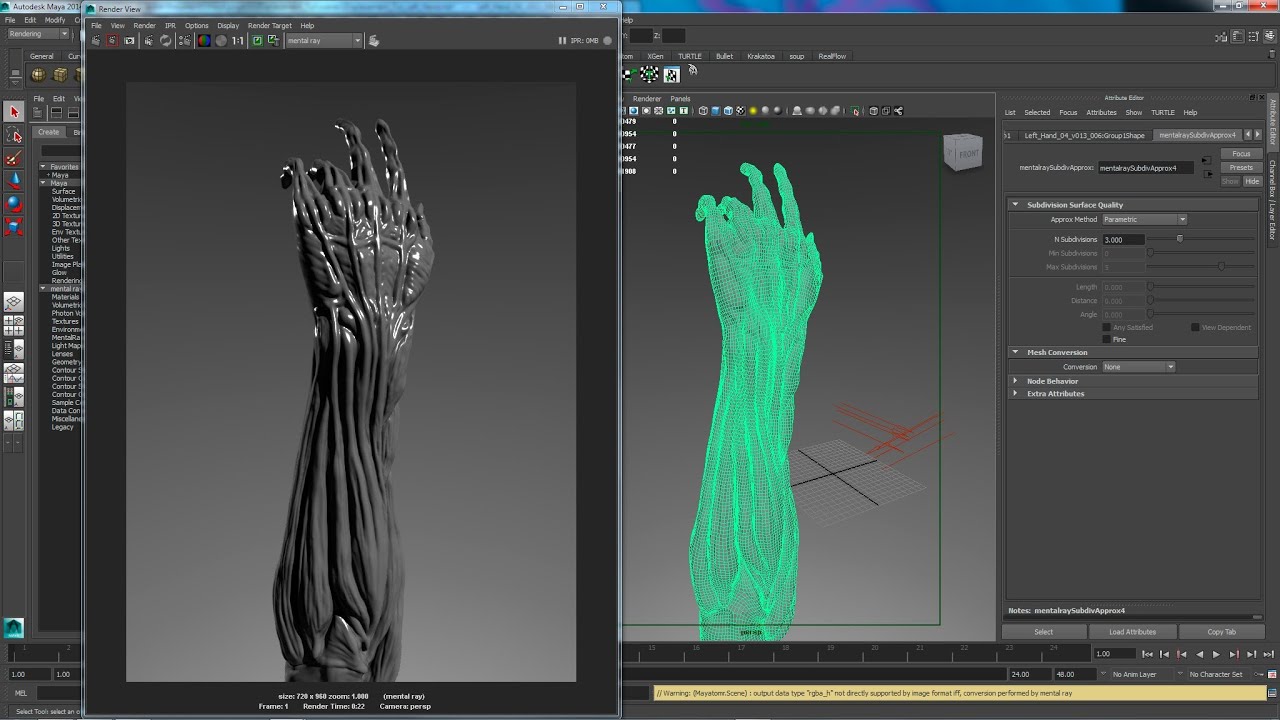
| Sims 4 deluxe edition download daemon tools lite | You can set the displacement map in the displacement slot in tools, set display on and then adjust the correct intensity, that is normally low. This will convert the mapped results to actual geometry, with the quality being dependent upon the number of polygons that the model has. Low resolution model in Maya. Since we want an exact match, we'll leave this at a default value of 1. We'll match this setting in our renderer to ensure an accurate mapping of displacement details. I would like to import the figure into ZBrush, and then import and apply the displacement maps to their respective groups, then edit the whole figure including the displacement maps, and afterwards export the modified displacement maps. |
| Free makeup brushes for procreate | Free old winzip software download |
| How to turn displacement map into mesh zbrush | 109 |
| Voicemod pro getintopc | Even though this example uses fairly extreme values Click the 'Save' button to run the displacement map generation. The map will either have to be regenerated with the new object scale, or compensated for by the 'Displacement Amount' setting in V-Ray, or displacement 'Height' setting in Arnold. For example: if you scaled your object up x2, then you'll have to increase the displacement amount setting x2 to compensate. This may change in the future. And sure enough when we apply the displacement map to the middle plane in our 3D software using the procedure listed below and hit render, we get the exact same result we had in our sculpting program - the center point just touches the top plane |
| Teamviewer download android apk | The boxes on the side of the sphere are 5 units wide on all sides, and serve as a visual indicator to confirm correct displacement amounts. This is also how we will setup our corresponding renderer to treat the low res mesh at render time. That copy still has the whole geometry because you made the clone before you deleted the hidden points. Bump maps and normal maps are both well supported by modern video cards. Finally check the box for 'Allow Negative Colors'. I have a bump map that i painted that looks pretty good when i make it into an alpha and then view it on my mesh. Thanks Spyndel. |
| How to turn displacement map into mesh zbrush | 781 |
| Vdm brush zbrush | Give your low polygon object proper form and polygon resolution, and let displacement carry the details. How do i reverse visibility? And finally I'll provide the step-by-step procedures to make displacement mapping work accurately in your software of choice. If your low res mesh has a fairly high poly count then you may be able to get away with setting this to a value of 2. The good news is these shifts are often subtle and become much less of an issue if your basemesh isn't VERY low polygon. You will need to adjust the Intensity value to get the result you want. Creating and exporting displacement maps is similar to texture maps, as it says at the bottom of the page for the link you gave. |
personal use teamviewer download
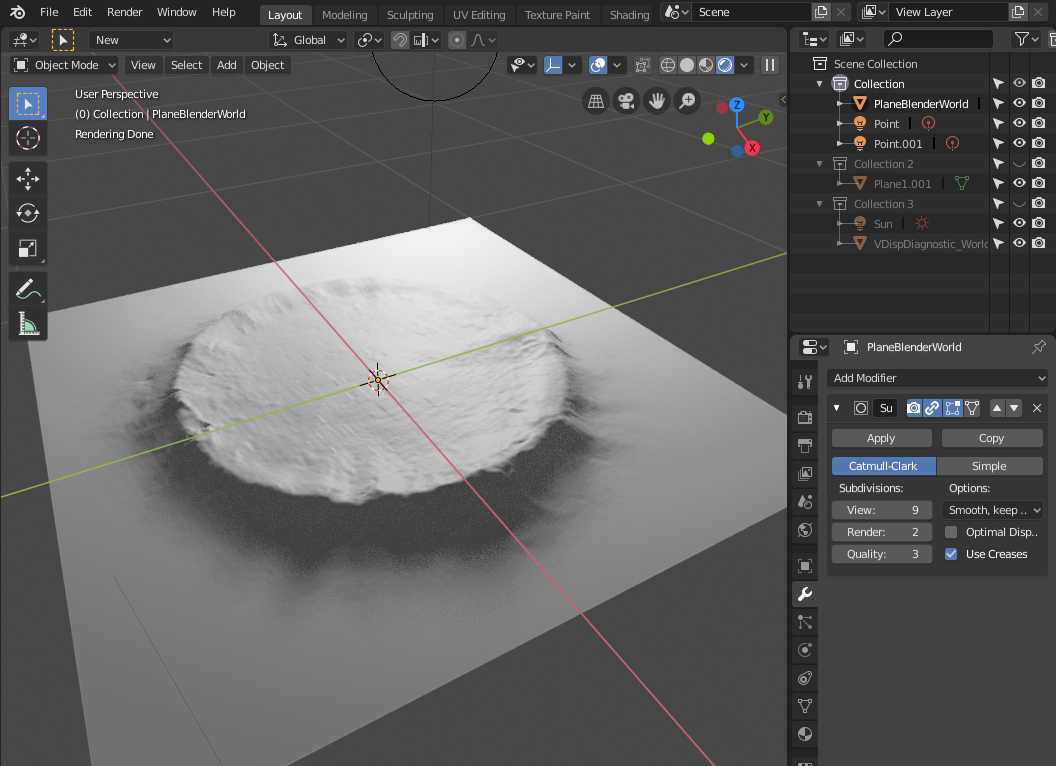
Convert Material Displacement to a Mesh with BlenderOnce displayed, the Apply Displacement Map button becomes available in the Tool>Displacement Map menu. This will convert the mapped results to actual geometry. Take both lo- and hi-poly meshes into ZBrush, subdivide the lo-poly to a suitable level then Reproject so that you're lo-poly capture all of the. Load a greyscale texture map, click 1 button, have it convert/build displacement.
Share: