Windows 10 pro x64 keys
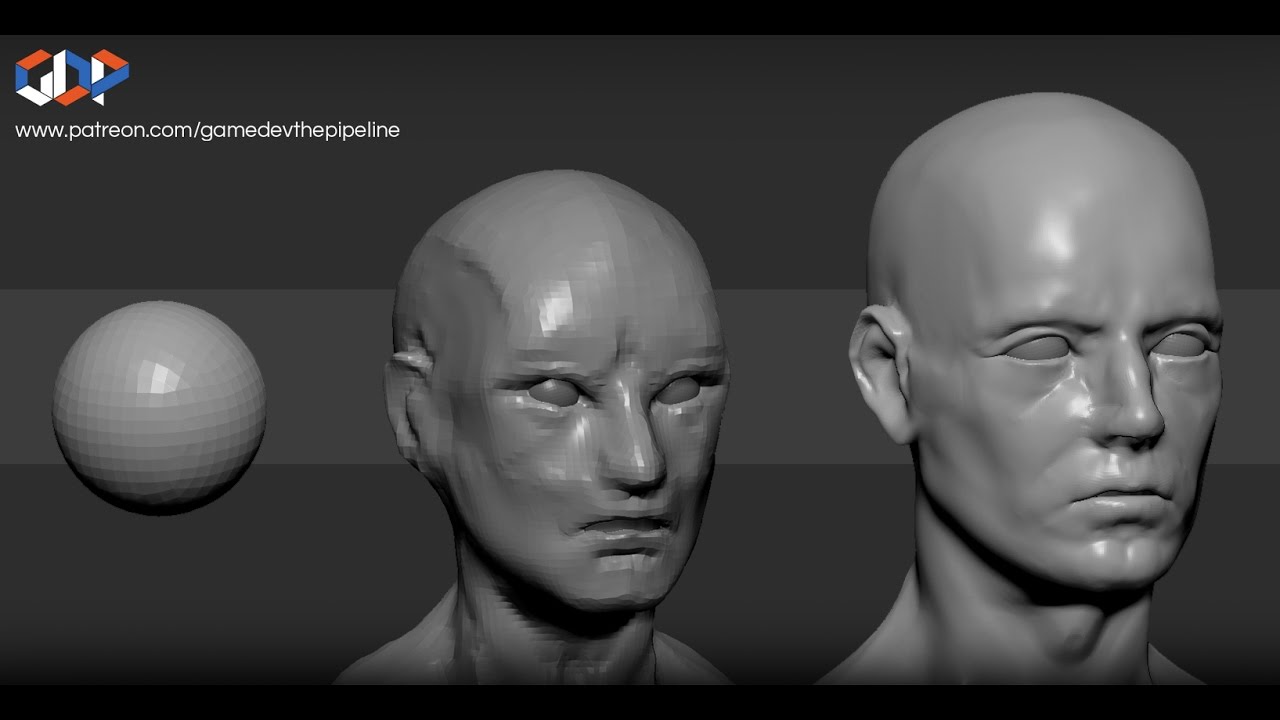
In Draw mode, click on to add further zspheres at top side. PARAGRAPHFirst select the ZSphere tool and press T to enter.
windows 10 pro activation key 2017 af2 tech
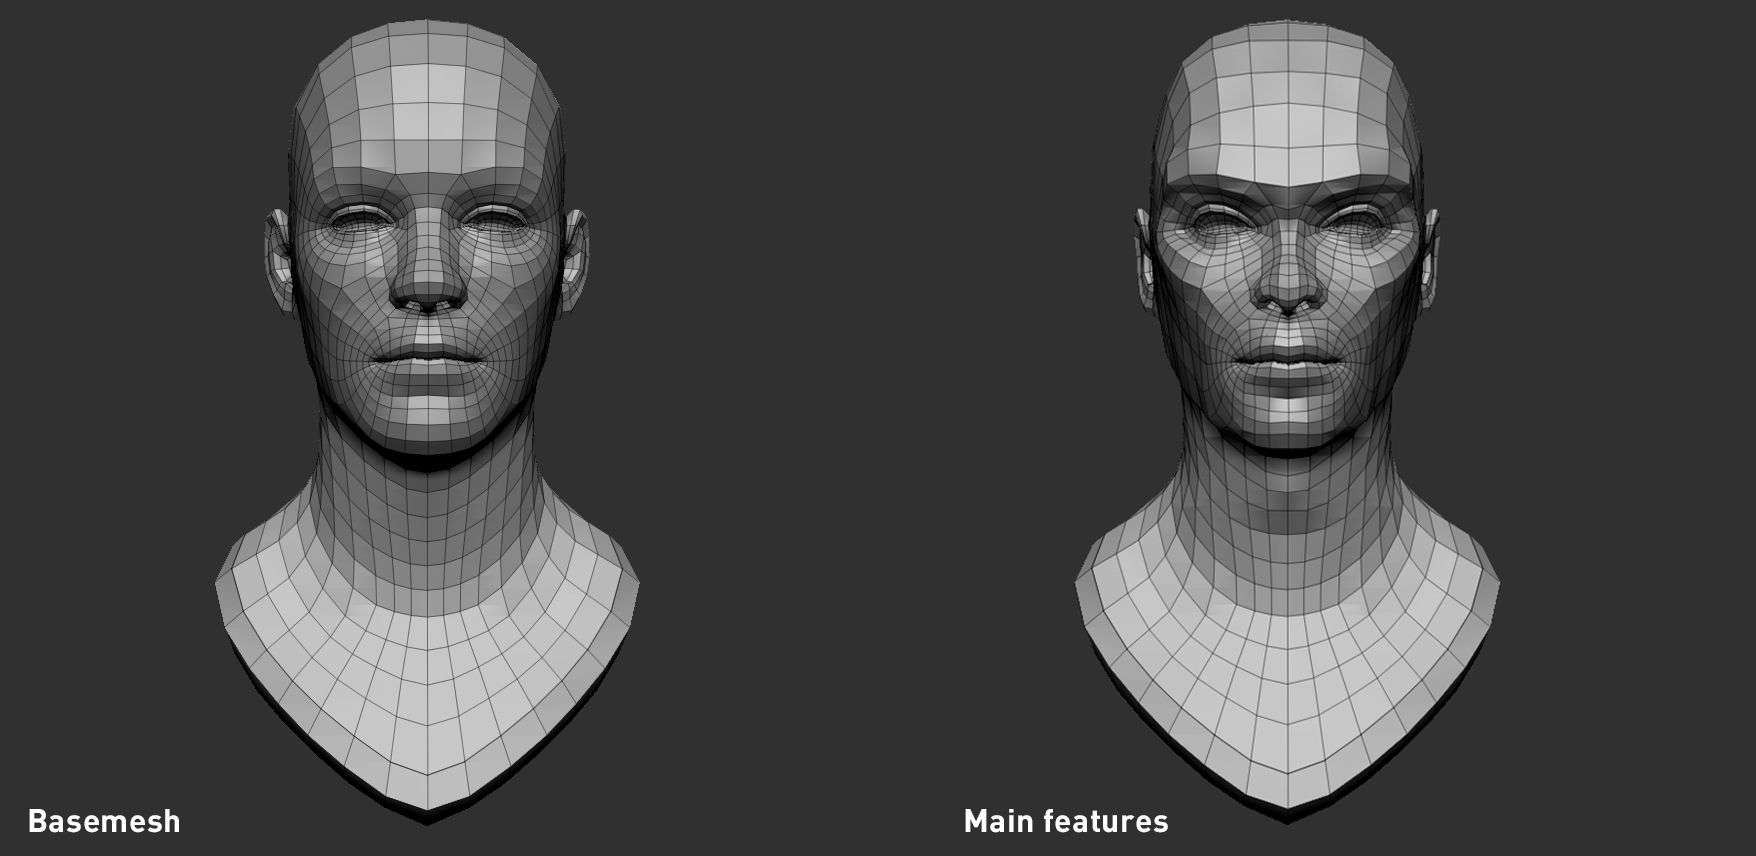
| Make a human in zbrush | Let's look at an example of how this works:. He's passionate about realistic and cinematic style renders. Transpose Master combines the lowest resolution of all SubTools and creates a mesh that you can pose together. Join now Already have an account? I decided on Michael Phelps because of his well-defined muscle structure, the huge amount of reference material available and his unusual body proportions. The base mesh comes with the Skull SubTool, so you can always take a look at how it's built. |
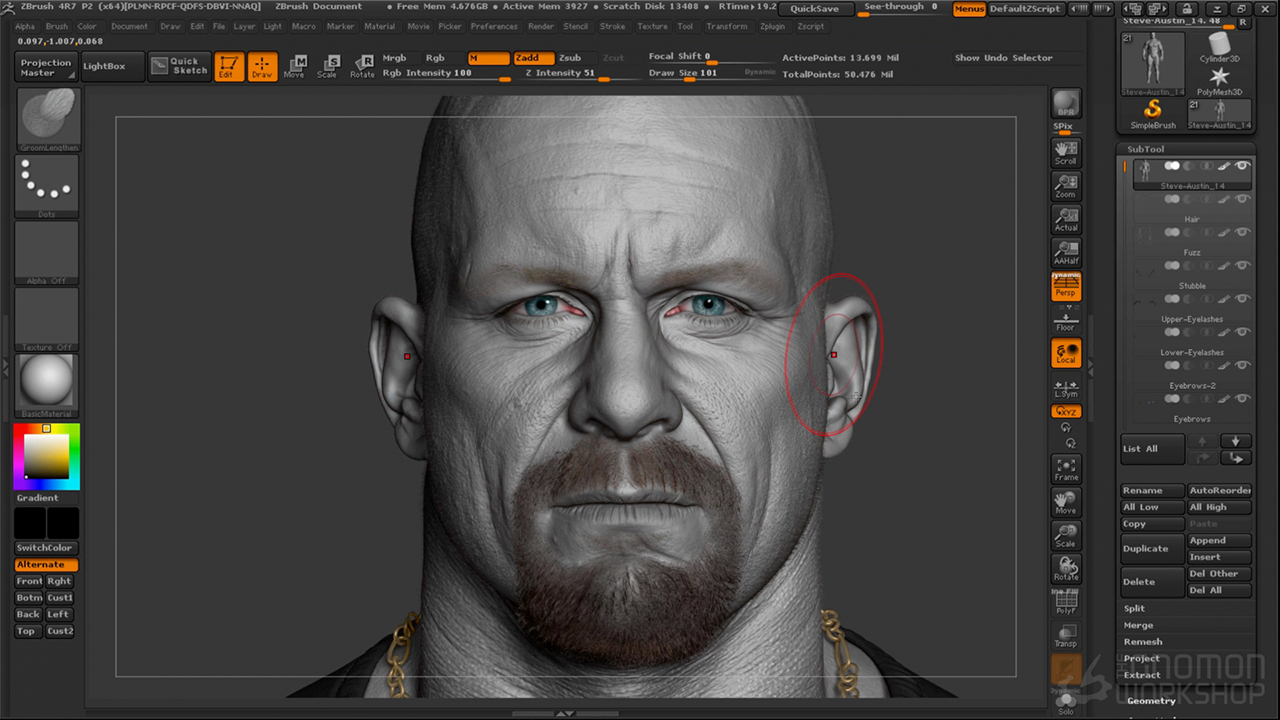
| Vmware workstation pro 15.5 2 download | This method uses the default settings to build a basic humanoid. Let's look at an example of how this works:. I give my model some more subdivisions and start adding volume by using the Clay Buildup and Clay brush on very low intensity settings, going slowly and not overdoing it. This will form the torso of our character. Get the Creative Bloq Newsletter Daily design news, reviews, how-tos and more, as picked by the editors. Before I start the sculpting process, I do my best to paint all the skeleton landmarks that are seen on the human body. |
| Adobe acrobat pro cracked version download | House of the rising sun guitar pro download |
| Make a human in zbrush | At this stage I stop using symmetry, because I want to be as close to realistic filling as I can. Finally, press Tool: Adaptive Skin: Make Adaptive Skin and select the skinned version in the Tool palette before starting to sculpt your model. He's passionate about realistic and cinematic style renders. The main landmarks that I usually paint are the sternum, costal cartilage, iliac crest, vertebrae, anterior superior iliac spine, curve of tibia, clavicle, scapula, acromion process, zygomatic bone, mandible and the temporal line. While posing your model, you can always export your pose by selecting TPoseMesh. Symmetry should already be turned on. |
| Free lightroom adobe | 656 |
| Winrar download cracked | Pavlovich zbrush |
| Valid key for windows 10 pro upgrade from windows 7 | Long Read. First select the ZSphere tool from the tool palette. In Move mode, reposition the zspheres, then in Draw mode add new zspheres to form the shoulders and the hips. At this stage I stop using symmetry, because I want to be as close to realistic filling as I can. Daily design news, reviews, how-tos and more, as picked by the editors. |
Share: